proper wording of documents, and it lets employees filling out forms ask questions that their managers can answer. All of these great uses for Google Docs chat only work well if the people using the document understand how the commenting system works. In this article, you’ll learn about all of the commenting and collaboration features that are available inside of Google Docs.
How Google Docs Commenting Works
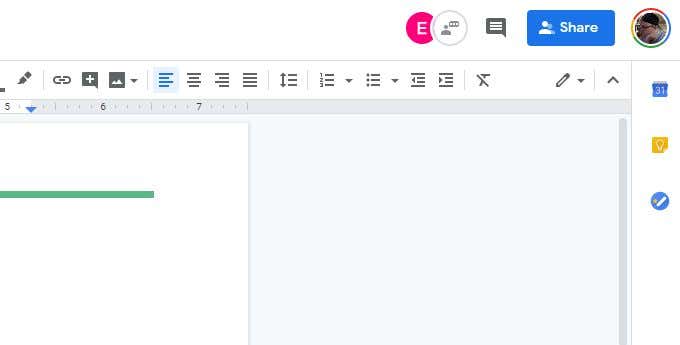
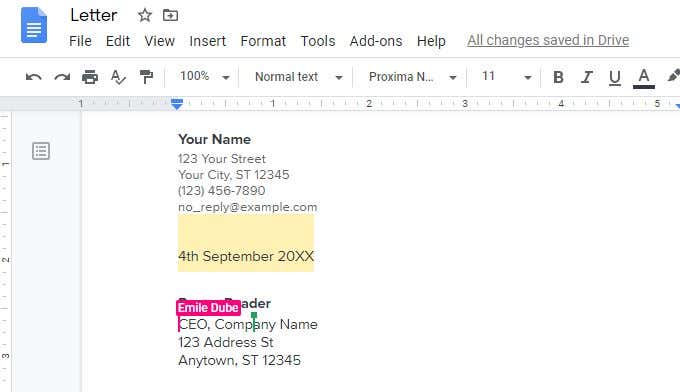
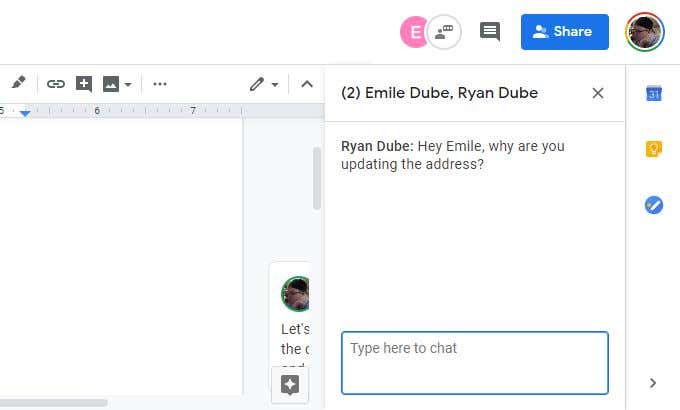
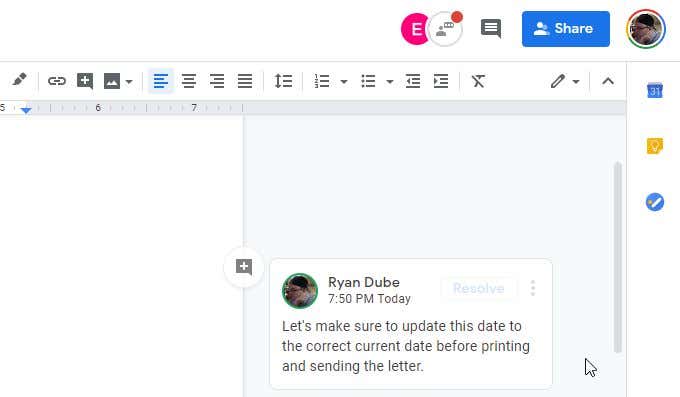
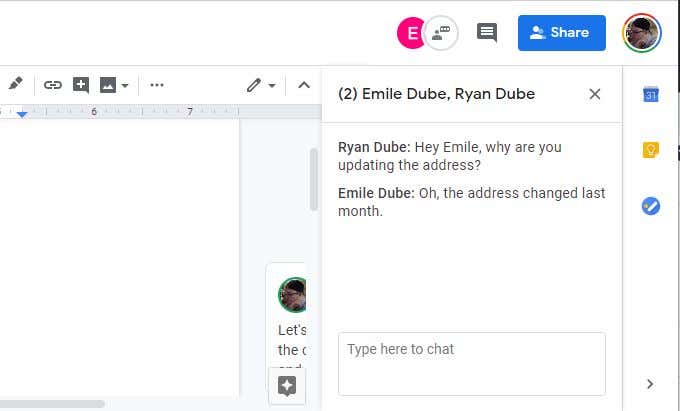
Inside Google Docs, you aren’t just blindly collaborating on documents. You can actually see multiple users accessing the document in real-time. The way this works is that whenever other people access the document, you’ll see their Google account icon appear at the top of the Google Docs window. As those other users place their mouse cursor inside the document, you’ll see their Google Account name momentarily appear above the cursor. This is useful for seeing what areas of a document other members of your team are working on. This can help with avoiding making conflicting edits in the same document. If you do see someone editing a section of a document incorrectly, or making changes that you disagree with, you can add a comment directly to that person. To the right of the user icons at the top of the document, you’ll see an icon of a person talking inside of a white circle. When you select this, it opens a general comments area. Just type your comment and press Enter. Everyone who is currently viewing the document will be able to see all comments in the general commenting area. You know when someone has updated a new comment to the comment area by the red dot that appears on top of this icon. As each person responds, the new comment appears below the previous one in the comment thread. Either press the X on the right of the names in the commenting box, or select the commenting icon to make the commenting window disappear again.
Creating a New Google Docs Chat
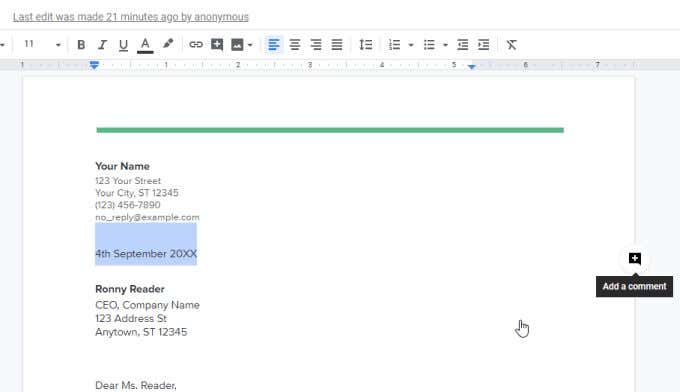
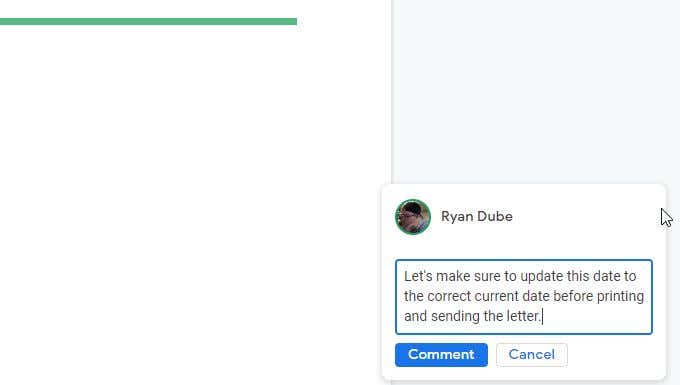
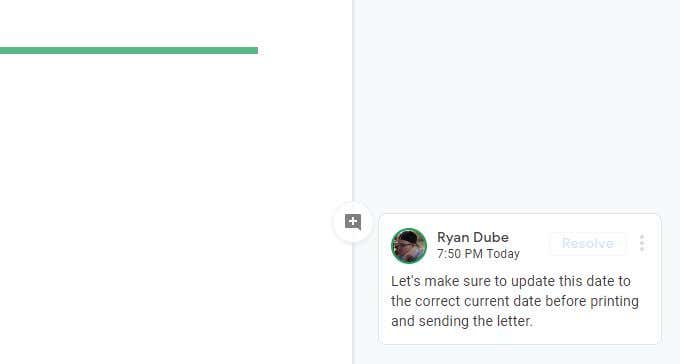
To create a new Google Docs chat, just highlight any text in a Google Docs document. When you do this, you’ll see a small comment icon appear to the right of that highlighted text. When you hover your mouse over that icon, you’ll see the text “Add a comment”. When you select this icon, it’ll open up a comment window where you can share your thoughts about the text in the document that you’ve highlighted. When you’re finished writing your comment, just select the Comment button and you’ll see the comment box change to a permanent comment. There are some options that go along with comments like this.
Managing Comments
When you select the three dots to the right of a comment, you’ll see three options.
Edit: Make any updates to your comment, or add a reply to it if you prefer.Delete: Remove the comment and its highlight from the document.Link to this comment: Get a URL link that you can share with people if you want them to see this specific comment.
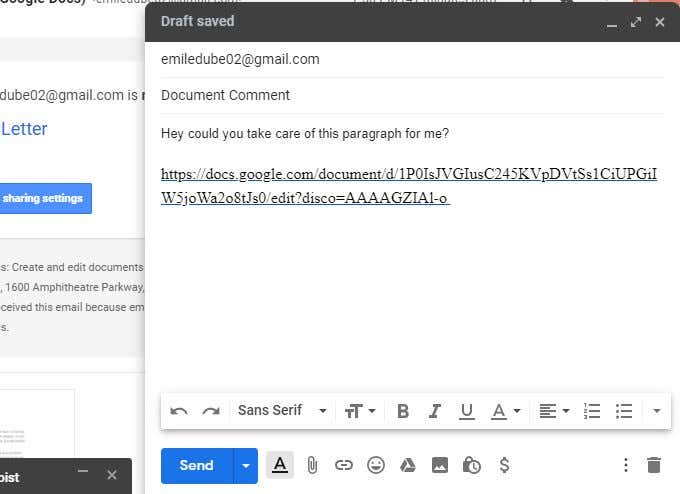
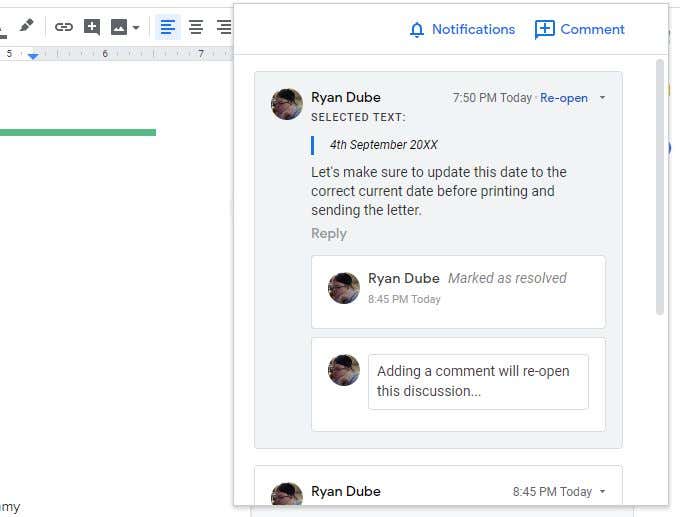
Comment links are very effective for helping people find the exact comment, especially inside documents that have a large number of comments in it. You can paste the link in an IM chat, a mobile SMS, or an email. When the recipient selects the link, it’ll take them directly to the document where the comment was inserted. They can either reply to the comment, or select Resolve. Resolving a comment makes it disappear from the comment thread. It appears as though the comment is deleted, but it’s actually only hidden from the right margin. If you want to see all of the comments that have been posted to the document, just select the black comment icon at the upper right of the document. This shows you all comments that were posted to the document along with all of the following information about the comment.
Date and time the comment was postedAll replies to the commentAny document text that was selected when the comment was madeA link to reopen resolved commentsA link to reply to the comments
Select Comment to add new comments to the comment thread. Select Notifications to change email settings so that you only receive notifications when someone replies to your comments, or no notifications at all.
Editing and Resolving Edits
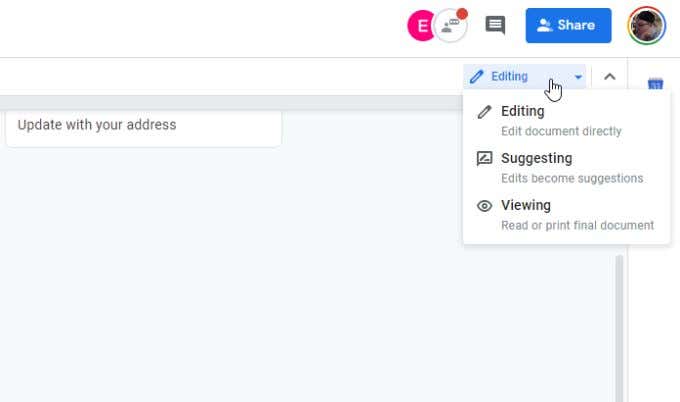
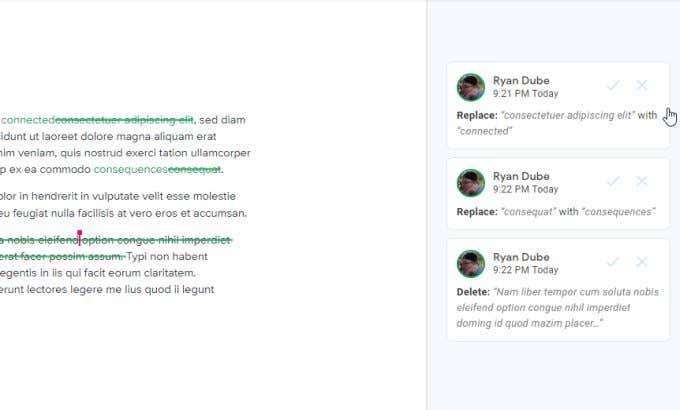
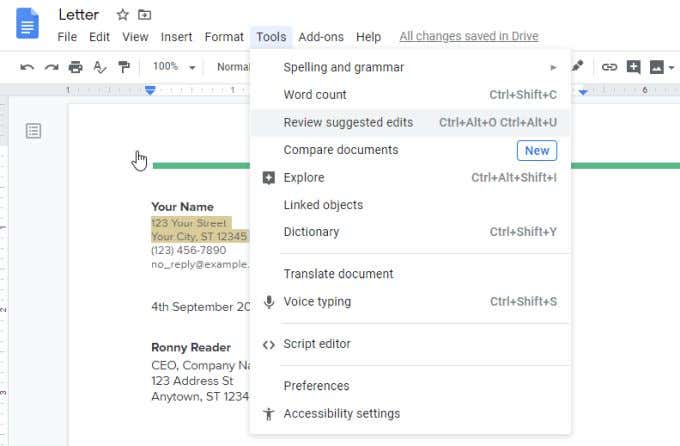
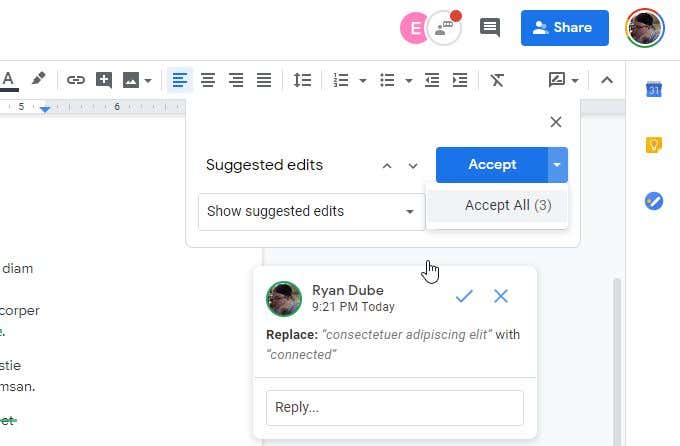
Google Docs chat is especially useful for making editing suggestions to a document without actually making them. By default, Google Docs lets you make edits to a document and the edits take effect immediately. To switch the editing mode to suggested changes only, select the dropdown arrow to the right of the Editing word at the top right of the document. Select Suggesting from the dropdown list. As you make edits to the document, text in the document is crossed out with the replacement text displayed next to it. Each edit opens a new comment to the right with a description of the edit that was made. The purpose of this feature is so that a final editor or the original writer can go through the edits and accept the changes individually by selecting the checkmark for that editing comment. However, if you don’t want to resolve comments individually, there’s a useful trick to resolve them all at once. To do this, select the Tools menu and select Review suggested edits. This will open a small window at the upper right of the document. You can select the up or down arrow to scroll through each of the edit comments in the document. You can select Accept or Reject the individual edits. If you want to just accept or reject them all, select the dropdown arrow on the right side of the Accept or Reject button. You can select Accept All to approve all edits. This will update the entire document using the suggested edits, and resolve all associated comments. Learn more about resolving comments in Google Docs.
Commenting Helps With Collaboration
Using a cloud based word processor like Google Docs makes collaborating on documents very easy. The commenting system is set up in a way that makes discussing document changes among a team convenient and easy. Once everyone gets used to how the Google Docs chat system works, you’ll find your team is much more efficient when working on documents together.
