And don’t say that you can click a photo with your smartphone. Pics of LED screens seldom look good or readable, as cameras aren’t really meant for photographing light sources directly. For screenshotting web pages, you can use the utilities built into the browser, but that doesn’t help you during general computer usage. No, you need a way to take a screenshot from within Windows 11. Thankfully, there are multiple methods of doing so. From shortcut keys to built-in tools, you can take a screenshot in many different ways. Here’s a complete overview of all of these methods.
Take a Screenshot in Windows 11 With Keyboard Shortcuts
The fastest way to grab a screenshot is to use an appropriate keyboard shortcut. While the default key to take a screenshot is Print Screen (PrtSc), you can combine it with the Windows key for a slightly different result. Note that using the Print Screen button captures the entire screen, so you have to crop it in an image editing software if you need only a particular area. Or better yet, try a different method.
PrtSc and Alt + PrtSc
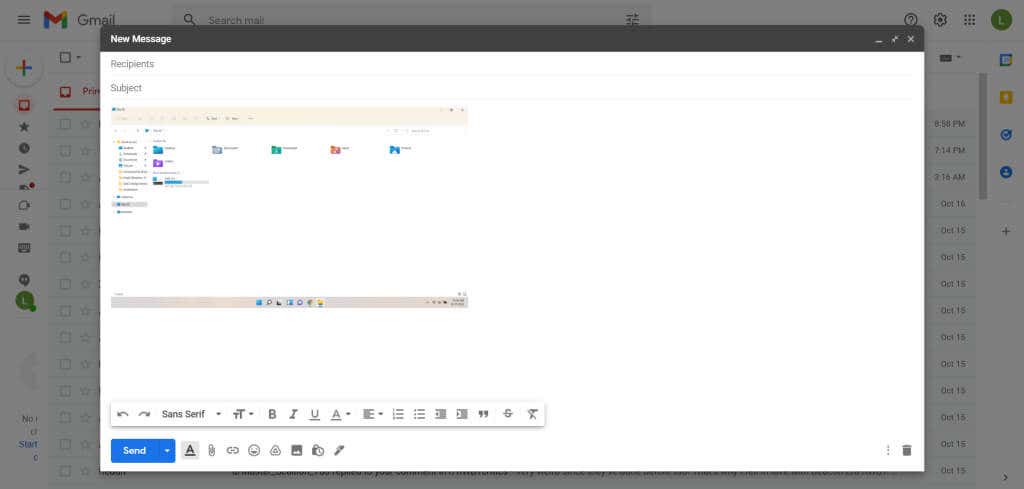
Simply pressing the PrtSc key on the top right of your keyboard takes a screenshot and copies it to the clipboard. As this requires just a single keypress, it is probably the easiest method, though it doesn’t give any feedback or even save it as a file. You can paste this image in editors like Google Docs, or even when composing an email. If you also press the Alt key, you get a shot of the active window only. Once again, the image is saved to the clipboard, so you will have to paste it into a program to be able to see it.
Windows Key + PrtSc
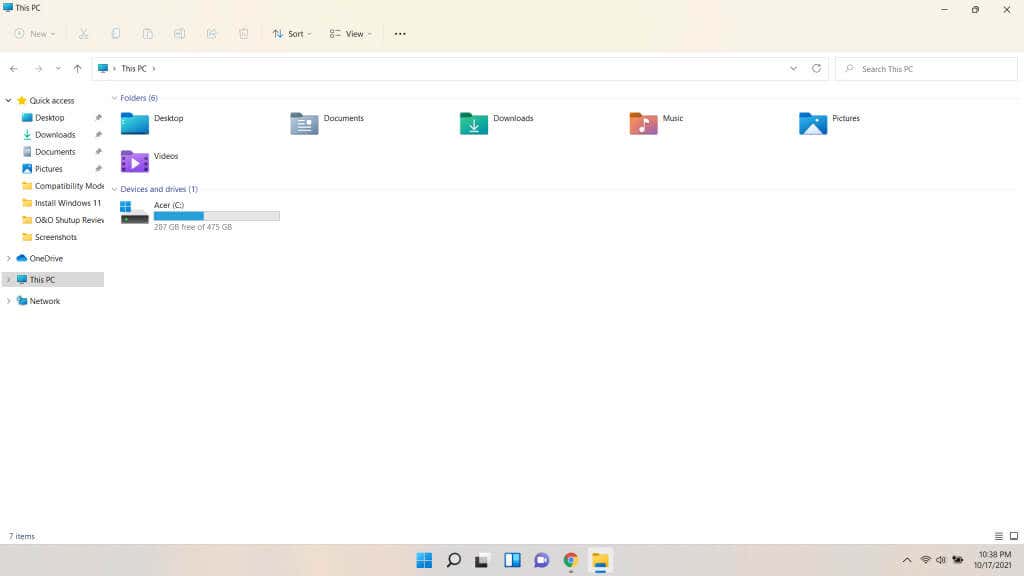
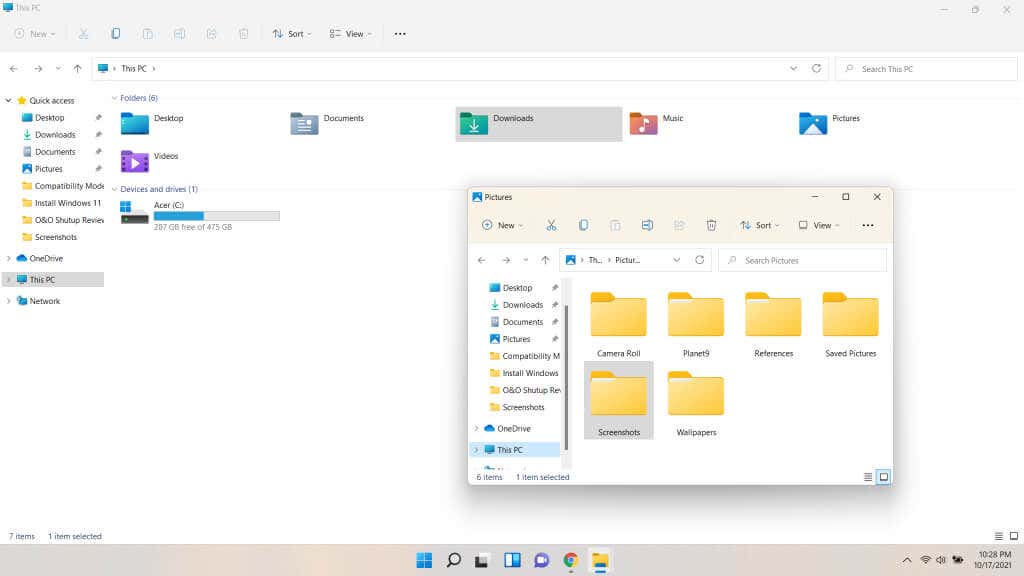
Getting the screenshot in the clipboard is not very useful in most cases. It would be better to get an image file that you can then upload easily. To do this, press the Print Screen button in conjunction with the Windows key. The screen will darken for a moment, signaling that a screenshot has been taken. The resultant image is saved in Pictures > Screenshots. The pictures are numbered, so taking multiple screenshots in quick succession does not overwrite the previous images, unlike the previous method.
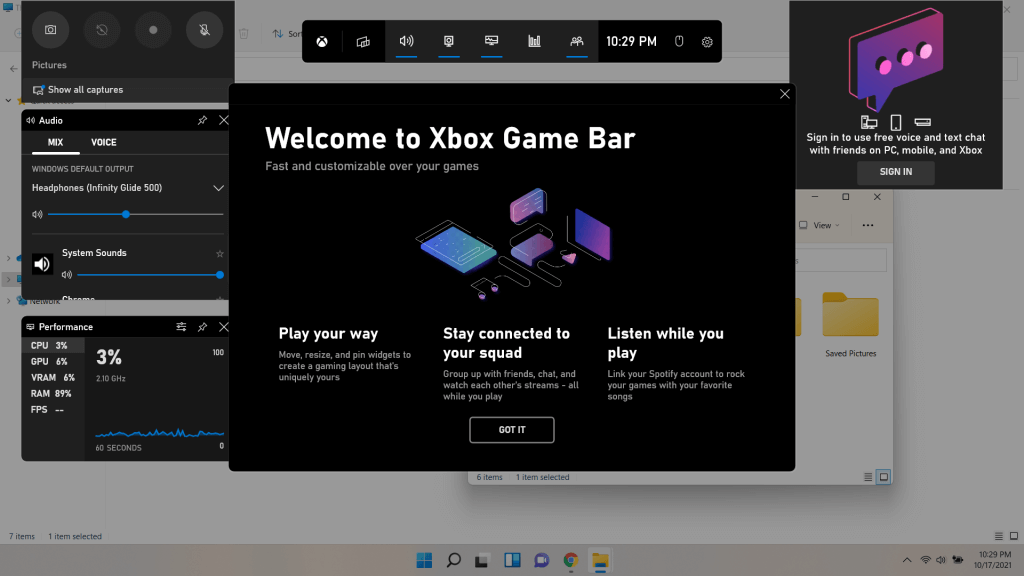
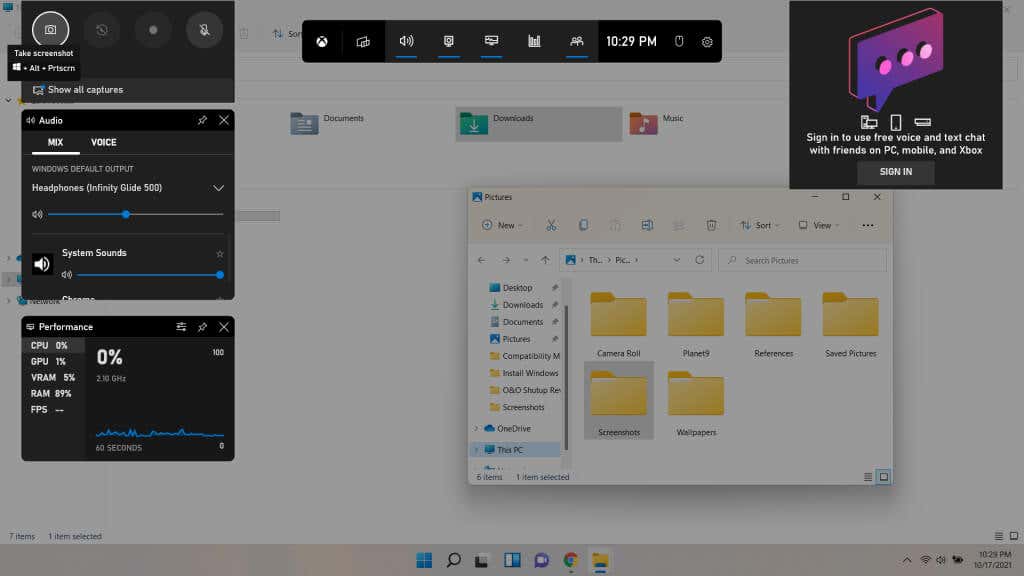
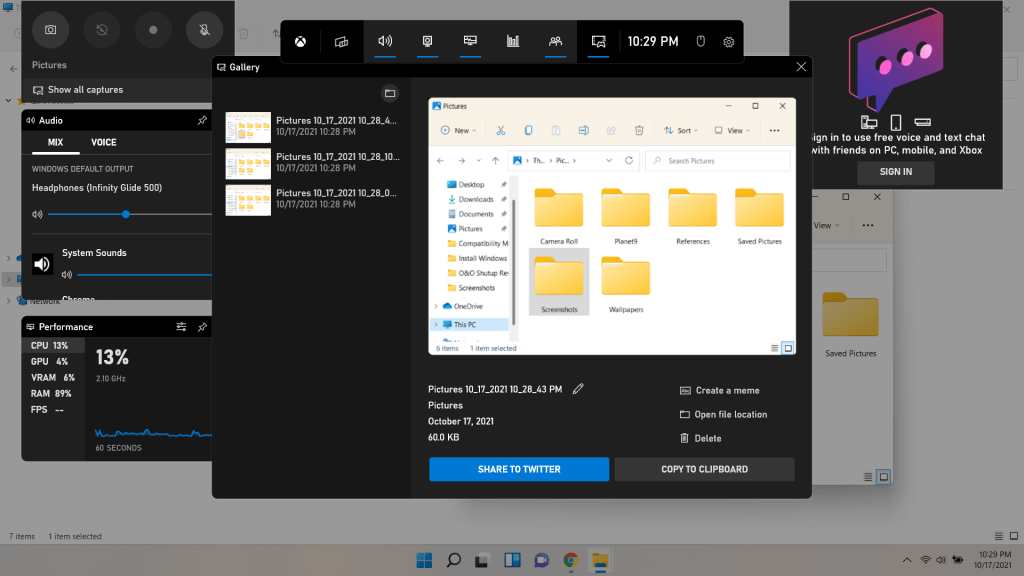
Save Multiple Screenshots Using the Xbox Game Bar
The PrtSc key saves the screenshot to the clipboard, which usually isn’t what you want. And if you use it with the Windows key, you can only grab the whole display at once. How about a method that lets you take multiple screenshots of the active window? Screenshots aren’t the only thing you can take with the Xbox Game Bar. It can be used for recording videos while playing as well.
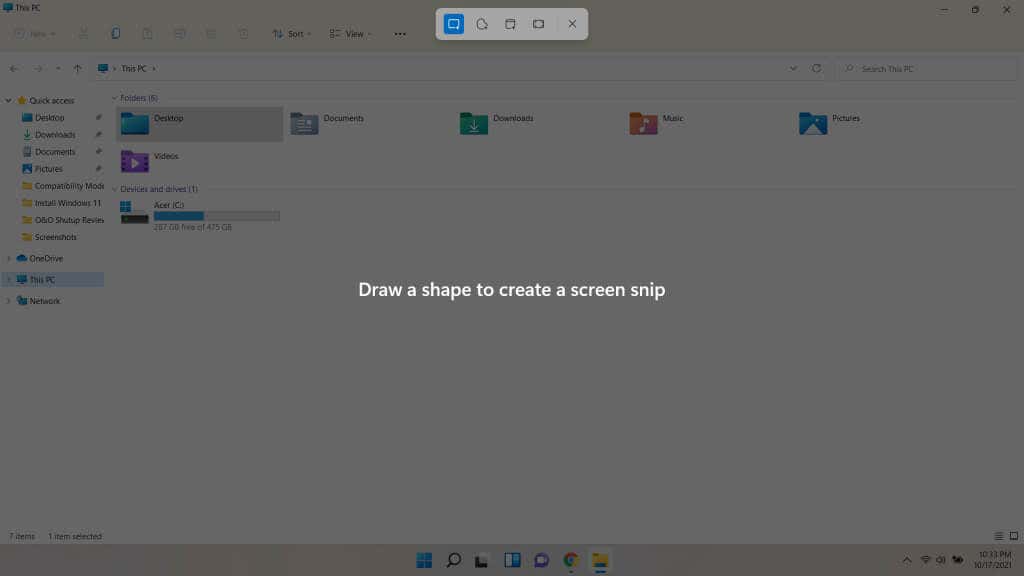
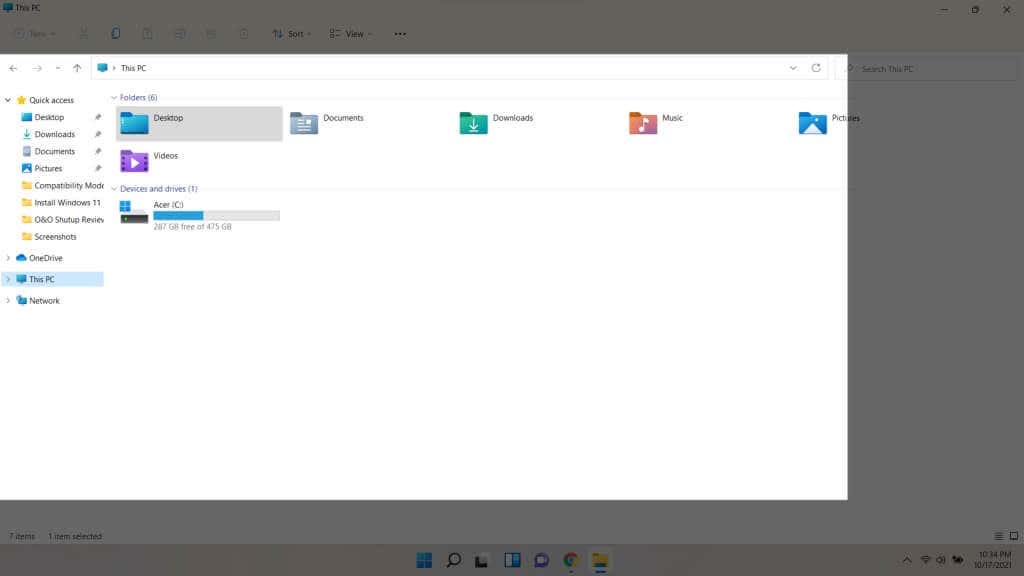
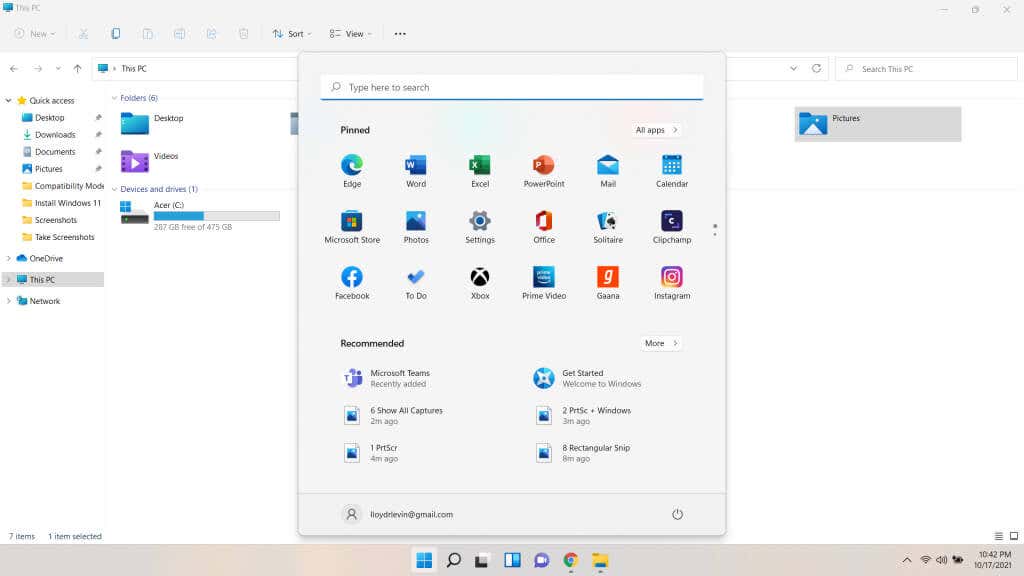
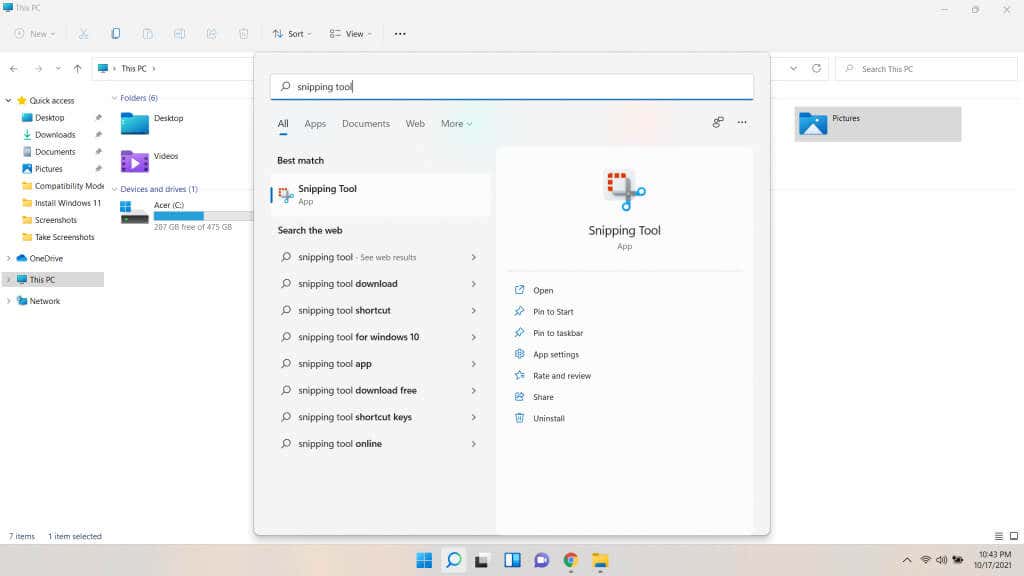
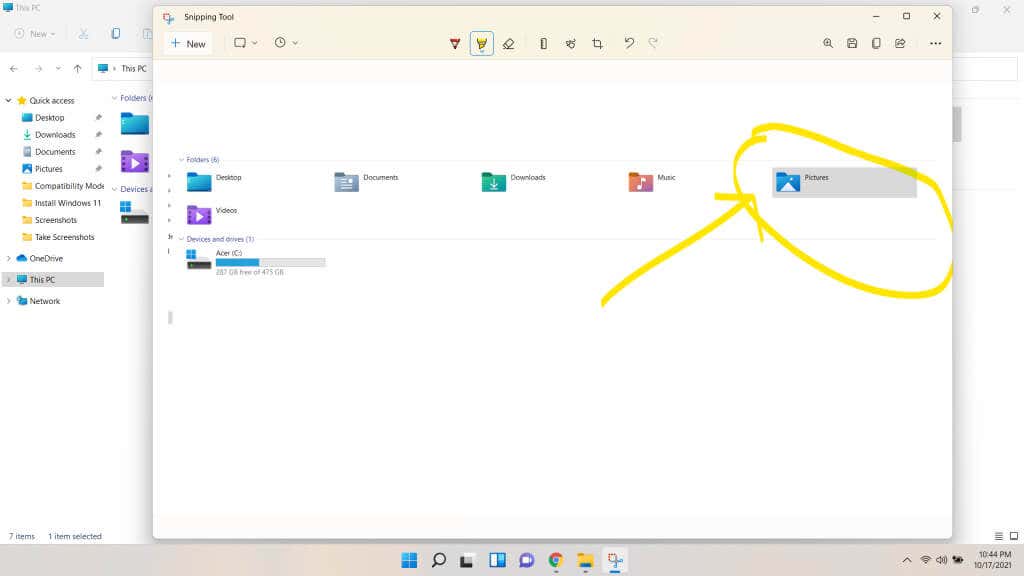
Capture Flexible Screenshots With the Snipping Tool in Windows 11
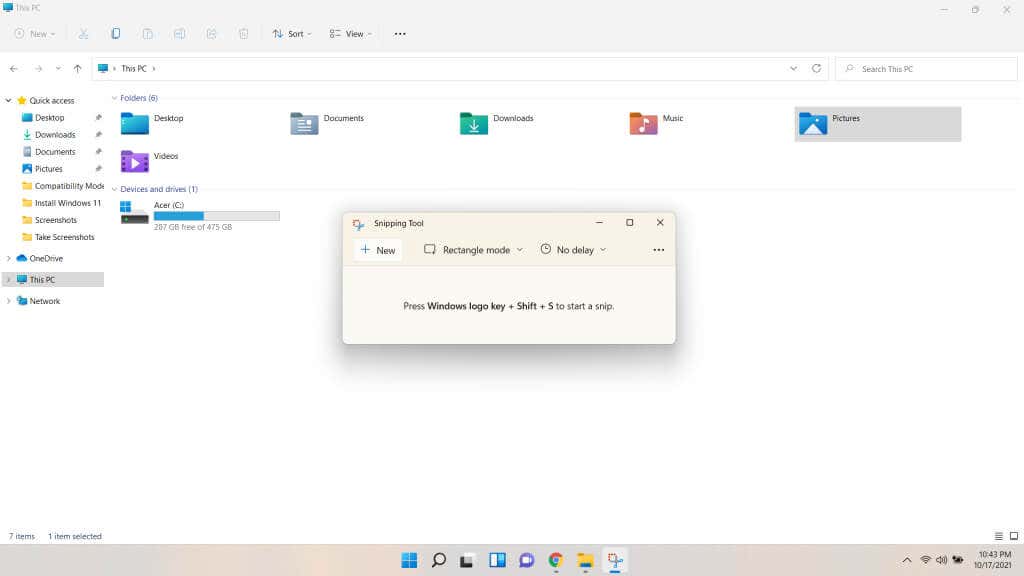
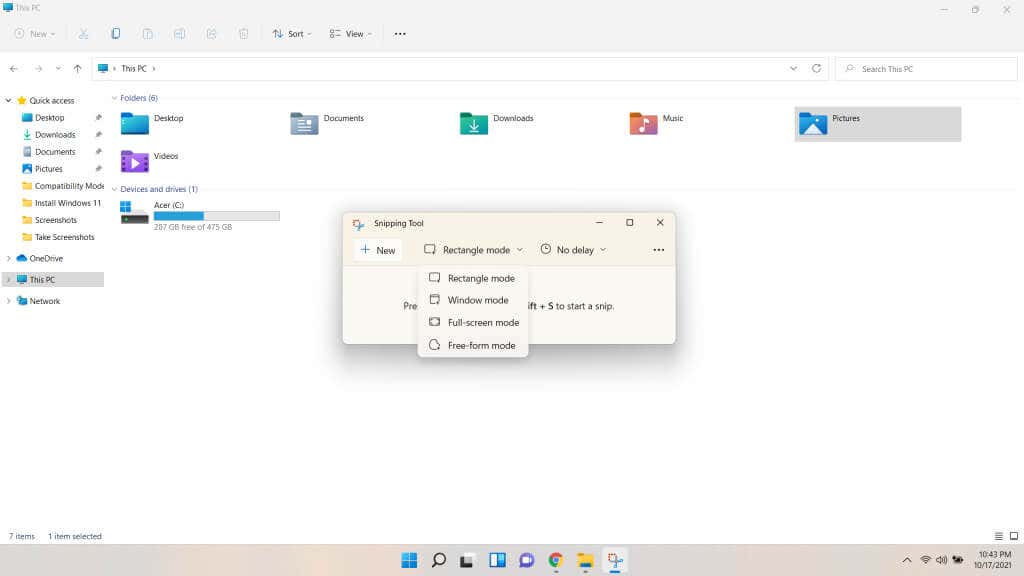
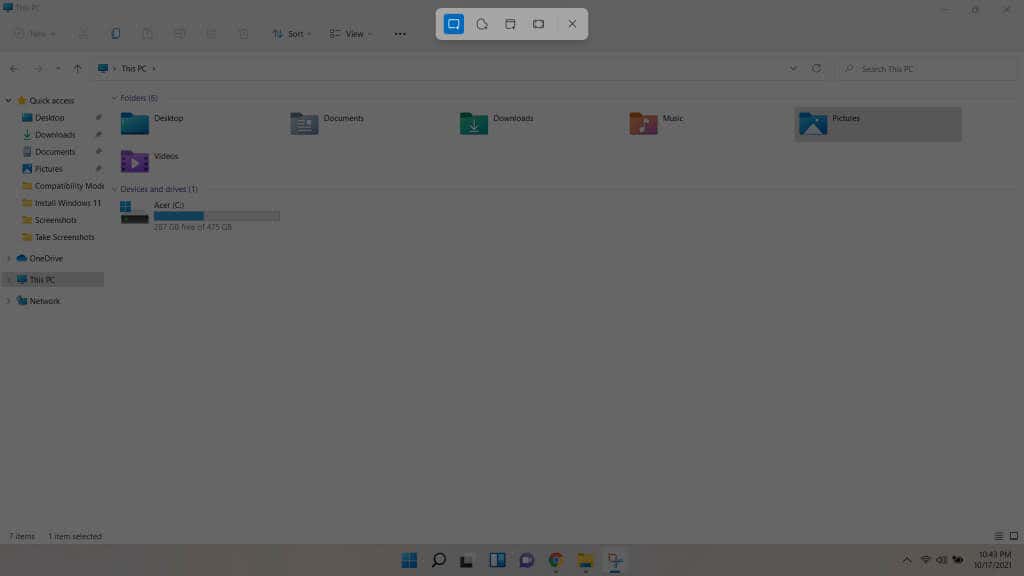
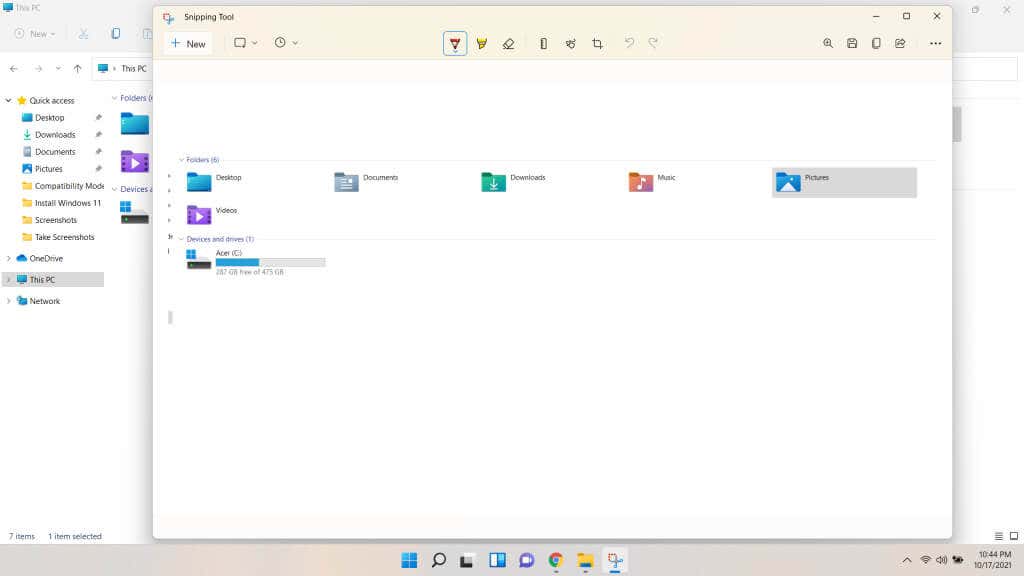
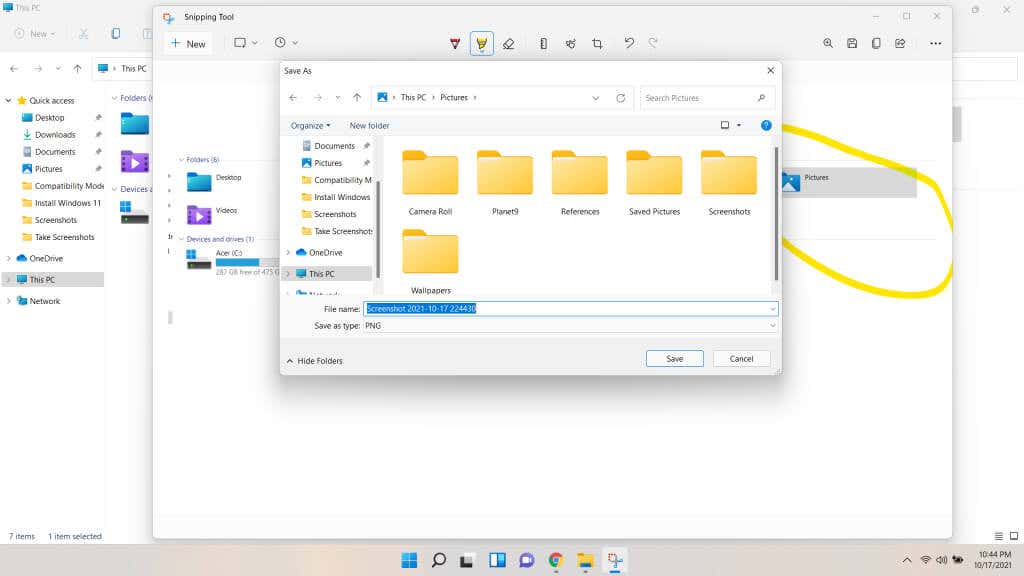
So far we have seen methods to take screenshots of either the whole screen or the active window. But what if you want to capture only a part of a window? A menu, an icon, or a custom area of your choice? That is where the Snipping Tool comes in. Split into two tools called the Snipping Tool and Snip & Sketch earlier, they have been merged into a single app in Windows 11. You can use this application to take screenshots of any custom part of the screen, rectangular as well as free form. You can run it as an app, or use it through any of the dozens of keyboard shortcuts it has. Keep in mind that snips taken this way are copied to the clipboard, as with most keyboard shortcut methods. To be able to save the snips as image files – and use other advanced features – you must open the full-fledged app.
What Is the Best Way to Take a Screenshot in Windows 11?
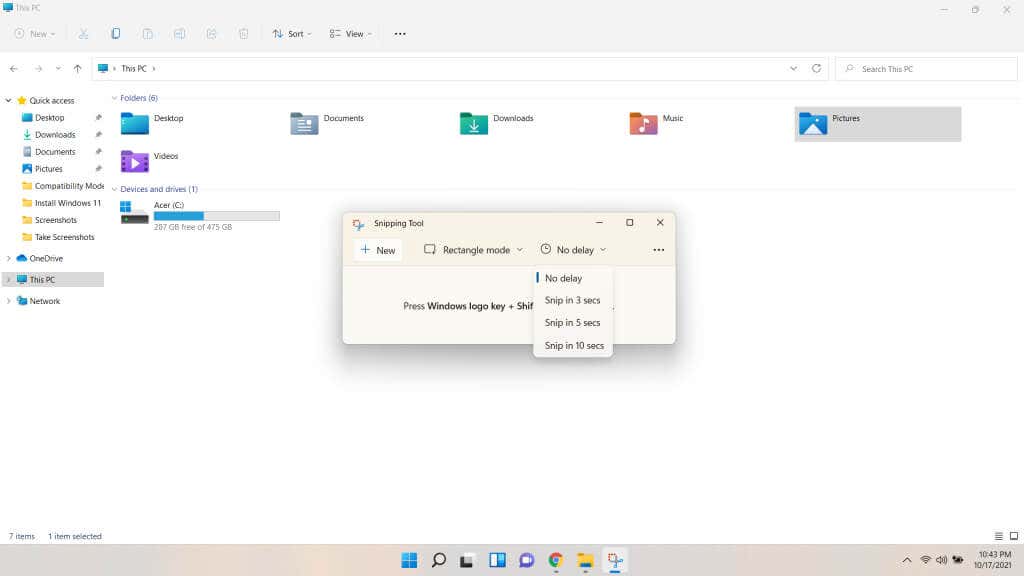
If you are just looking to take a quick screenshot of the whole screen, just hit Windows key + PrtSc. This will save the screenshot as an image file in the Screenshots subfolder of Pictures. In multi-monitor setups, however, you will need to try some other methods. For pasting an image to a document editor or email, use any of the other keyboard shortcuts. PrtSc for the entire display, Alt + PrtSc for the active window, and Shift + Windows key + S to select a portion of the screen. The best method, however, is the Snipping tool. It lets you set delays, make annotations over the screenshot, and save it with a name of your choice. This flexibility makes the Snipping tool the ideal choice when you need to take a number of targeted snips, rather than a one-off screenshot.