What Is the WinSxS folder?
WinSxS (short for “Windows Side by Side”) is a folder (location: C:\Windows\WinSxS) where Windows stores files required for installing Windows and backups or versions of those files. Whenever you need to recover system files or add or remove Windows features, this is where Windows will search for the files required to perform an action. This is why it’s also called the component store. WinSxS also stores files needed to install quality updates and previous versions of Windows components. These files allow you to revert back to the last state in case the update becomes troublesome. WinSxS continues to increase in size over time because it will continue storing more component versions.
What Is the Correct Size of WinSxS?
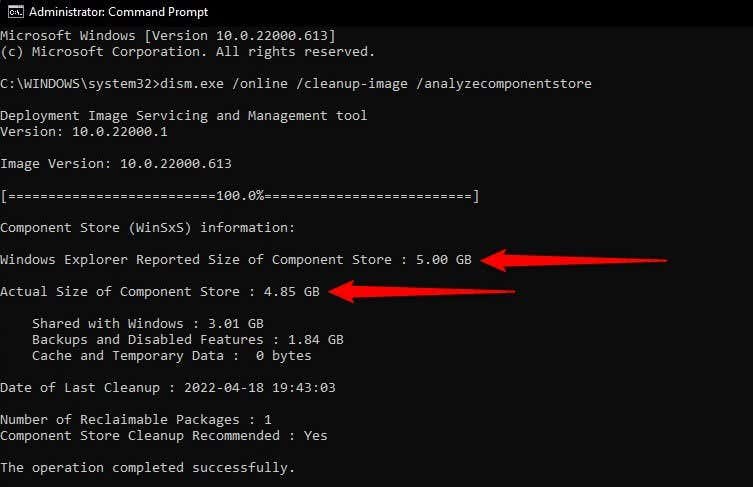
The size of the WinSxS folder is usually calculated inaccurately by the File Explorer. Files inside the WinSxS folder may appear in several places in the operating system. However, there’s usually only one copy of a file, while the rest of the files are hard links. File Explorer doesn’t factor this in when calculating the size of folders, meaning the size can appear larger than it really is. You can find the true size of the WinSxS folder using the DISM tool. To find the real size, launch an elevated Command Prompt and run the following command: DISM.exe /Online /Cleanup-Image /AnalyzeComponentStore Once the process completes, you’ll see both the size reported by the file explorer and the actual size in the Command Prompt window:
How to Cleanup WinSxS Folder?
Cleaning the component store can free up valuable storage on your hard drive. However, you can’t delete the WinSxS folder manually. Also, note that once you clean up the WinSxS folder, you won’t be able to roll back updates until you’ve updated your PC. You might also face issues with certain apps that rely on a previous version of a DLL file if it gets deleted during the cleanup. As illustrated below, there are several ways to clean up the WinSxS folder.
Cleanup WinSxS Using DISM
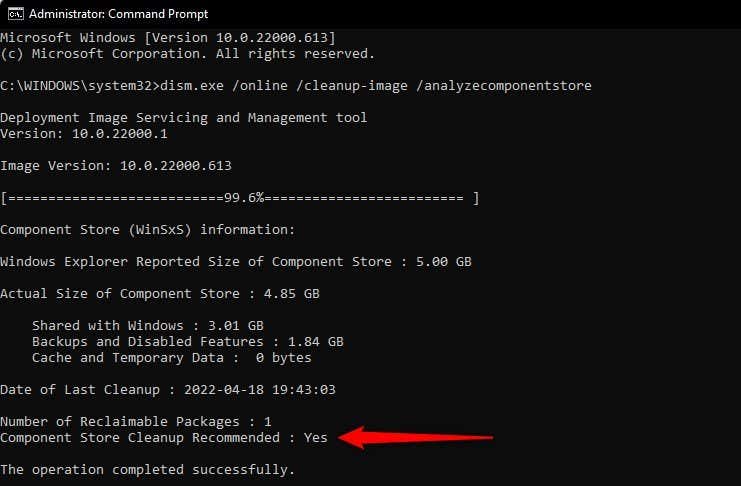
DISM (Deployment Image Servicing and Management) is a command-line utility with a built-in option for cleaning up the component store. A cleanup using DISM will remove all the unnecessary files from the WinSxS directory without disrupting your system’s functioning. DISM.exe /Online /Cleanup-Image /AnalyzeComponentStore DISM.exe /Online /Cleanup-Image /StartComponentCleanup When the process completes, it will have cleaned all unnecessary WinSxS files. There are also other WinSxS cleanup commands you can run when you want to clean up a specific group of files. For instance, if you want to clean up older Windows component versions, run the following command: DISM.exe /Online /Cleanup-Image /StartComponentCleanup /ResetBase If you’re running an older version of Windows like Windows 7, you can use the following command to remove service pack backups (Windows 8, 10, and 11 don’t have service packs): DISM.exe /Online /Cleanup-Image /StartComponentCleanup /SPSuperseded
Cleanup WinSxS Using Disk Cleanup
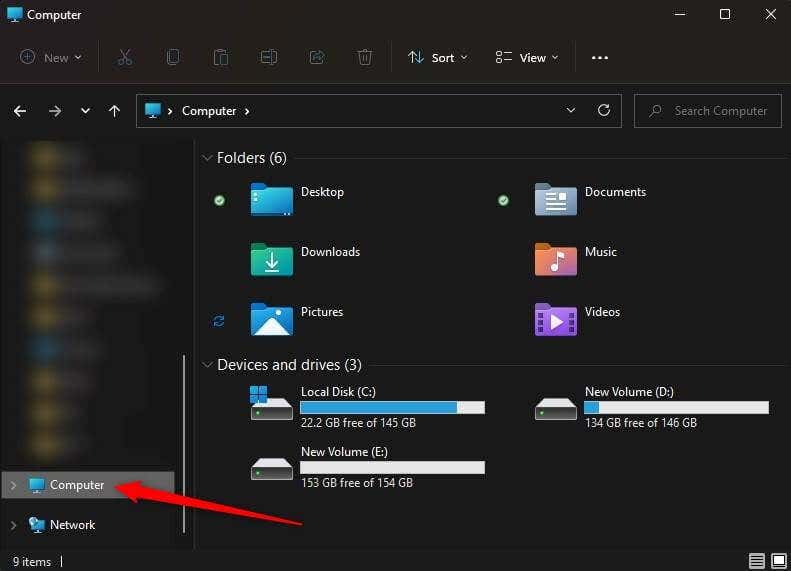
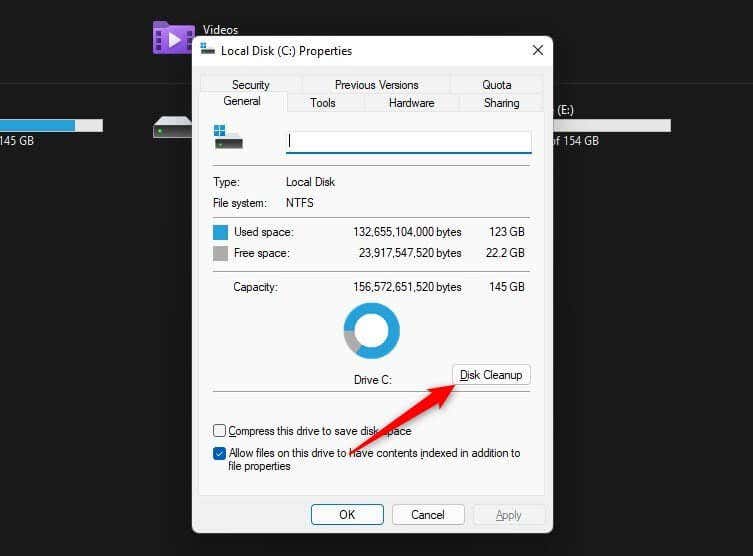
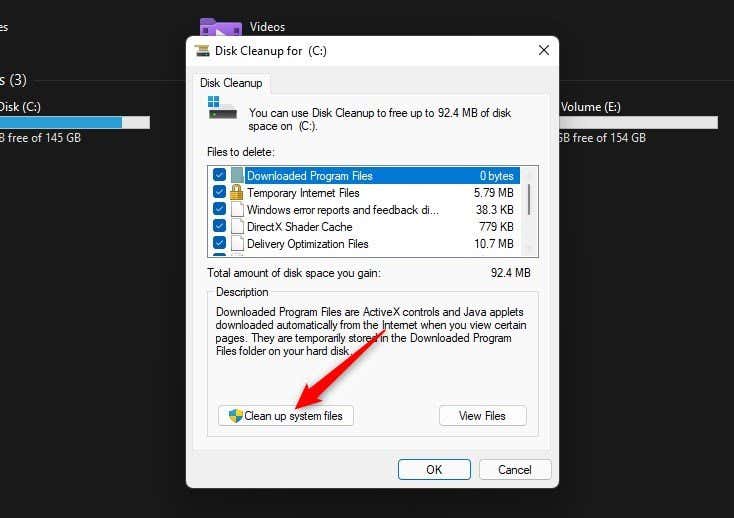
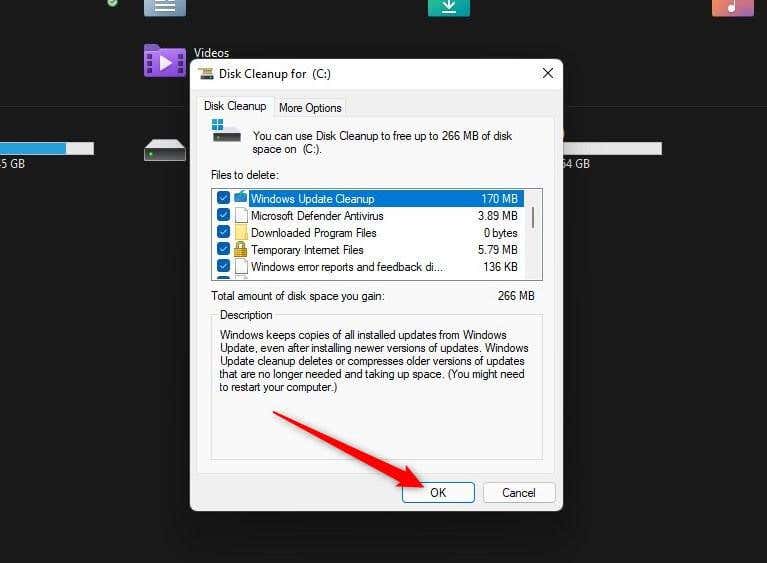
Windows also has a built-in Disk Cleanup tool that can clean up system files and other types of unnecessary files, including ones in the WinSxS folder. You can check all boxes if you want to clean up junk from the entire system, but be sure to select Windows Update Cleanup for cleaning up the update files from the WinSxS folder. Click OK once selected. Of course, over time, the files will accumulate in the WinSxS folder again. So you’ll need to use Disk Cleanup every once in a while to keep the WinSxS folder clean. Alternatively, you can schedule component cleanup using the Task Scheduler.
Cleanup WinSxS Using Task Scheduler
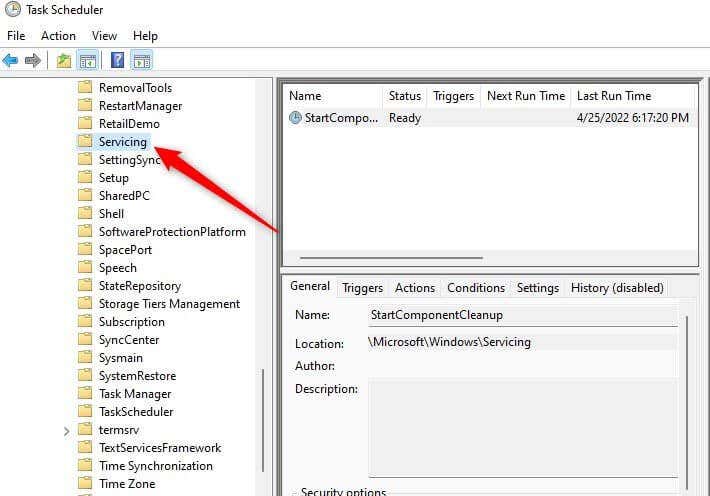
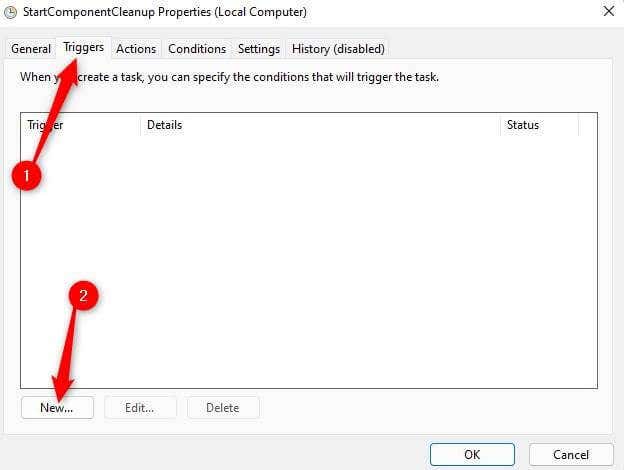
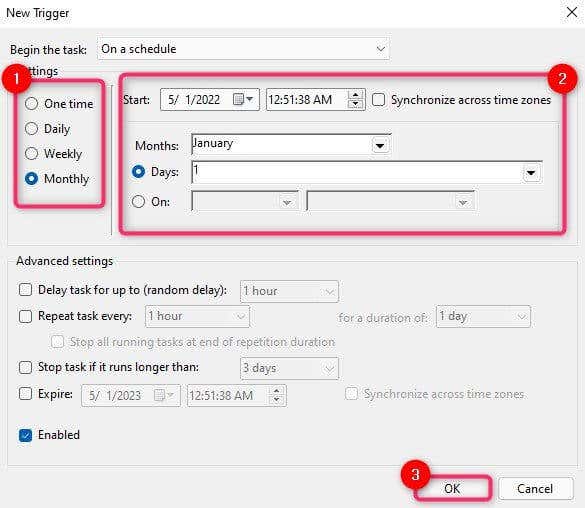
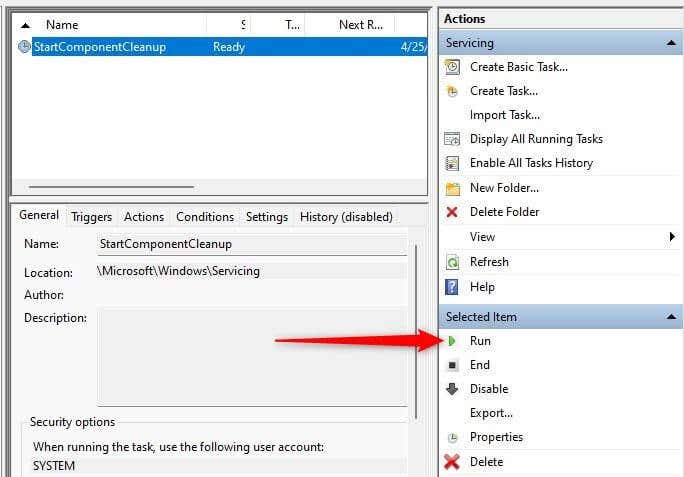
You can use the Task Scheduler if you want to take a “set it, forget it” approach to regularly clean the WinSxS folder.
Need More Space?
If you’re trying to make some space on your hard drive, cleaning up the WinSxS folder is a great start. You can also make more space by uninstalling apps you don’t use or moving large personal files to an external hard drive. If you’re looking for more ways to make space on your Windows computer, we have a tutorial on several ways to free up disk space that might help.
